Mounting and camera placement
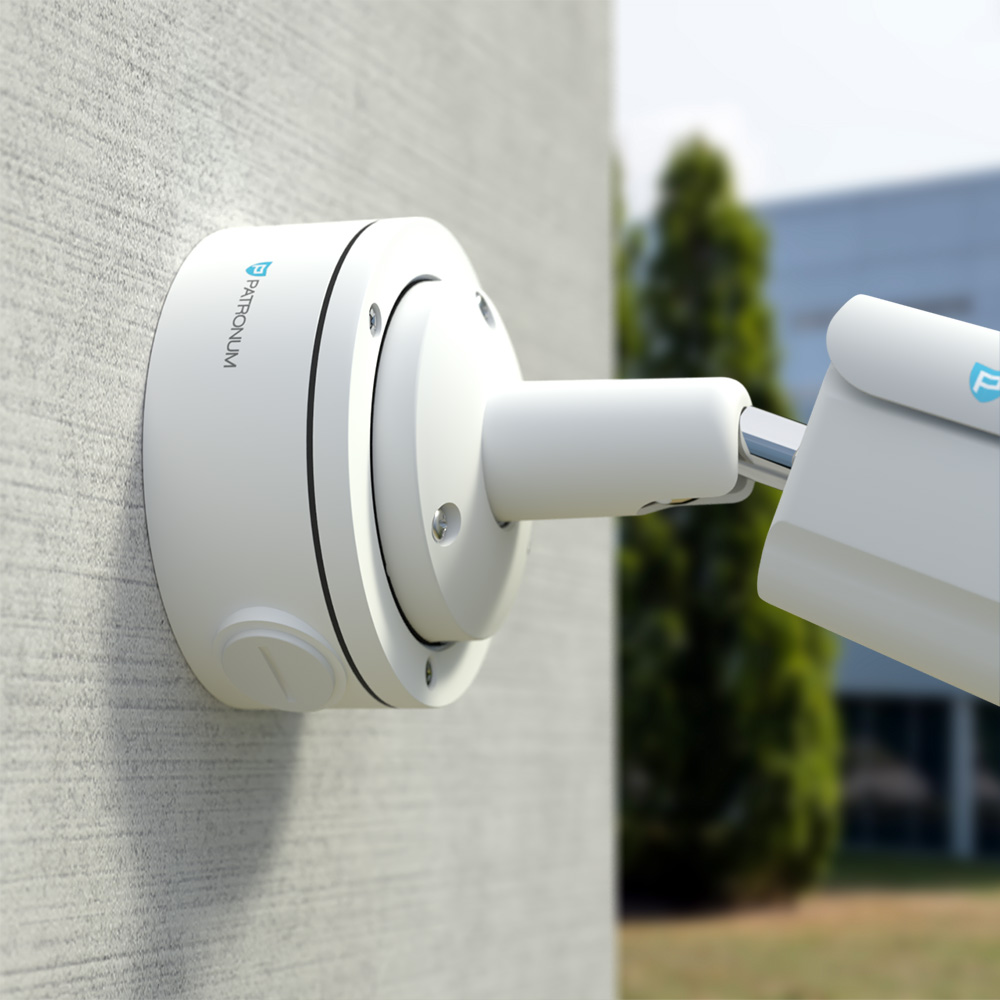
Up to this point everything has been mostly virtual, and even if you already have an idea where the camera should go, we always recommend testing the planned location first. Connect the recorder and plug in a monitor and a camera with a longer cable. Get someone to hold the camera in the planned location, or to set it up and aim it so the field of view is right. If you're on a ladder during this step, please be careful. ;-)
Mounting the camera itself is fairly simple. The camera usually comes with a bracket with prepared holes, and the package contains wall plugs and screws for wall or ceiling mounting. Place the camera on the wall and mark the bracket holes. Drill a hole of the right diameter for the wall plug and insert it flush with the wall. Place the camera and tighten it with the supplied screws. Some cameras have the cable routed through the centre of the bracket.
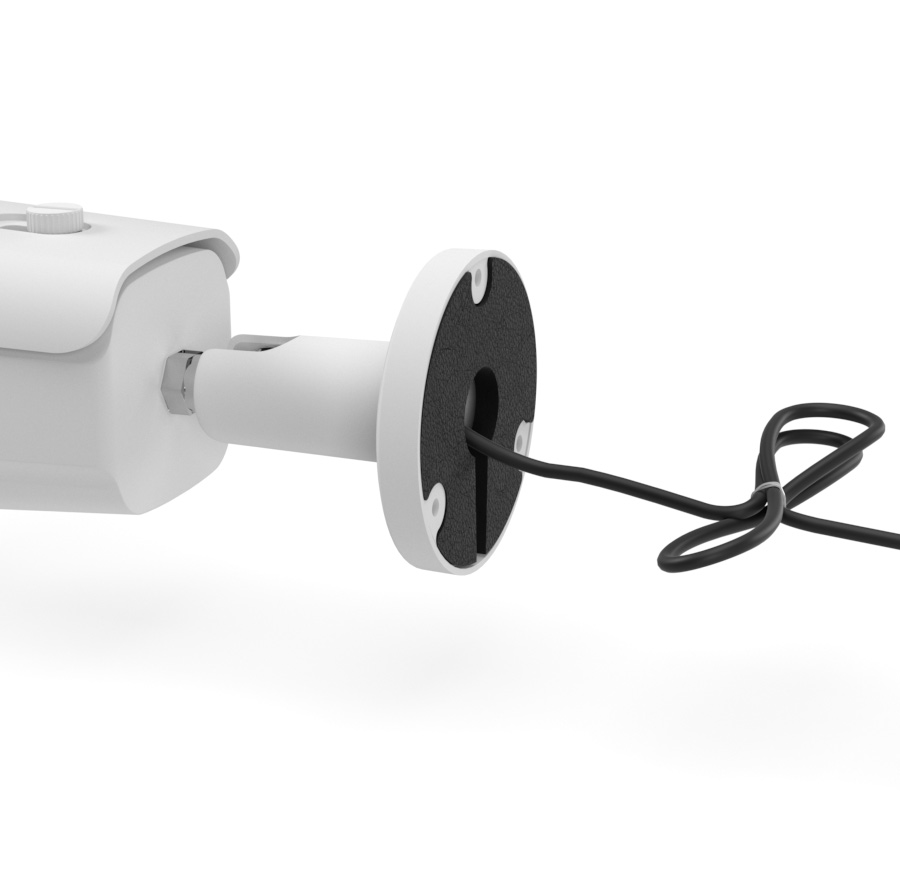
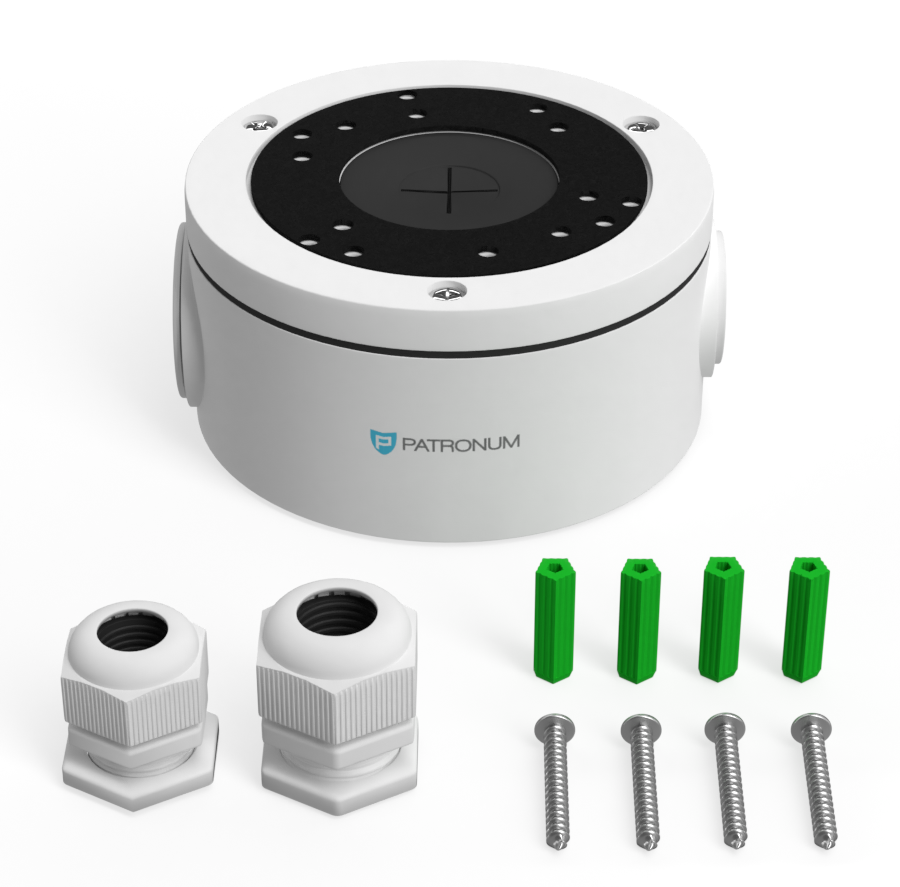
Either feed the cable into the milled groove on the edge of the bracket and tighten, or pull the cables through the wall to the spot where the connectors will be joined. If the wall is wider than the wires from the bracket, we recommend buying a cable box. This is especially useful for outdoor installations where there's a risk of water and dirt entering the connections. These can cause oxidation, image loss or short circuits that damage the power supply or the camera.
If you're preparing for cameras before the building's insulation work, we recommend using a thermal-insulation mounting plate.
Cabling and routing
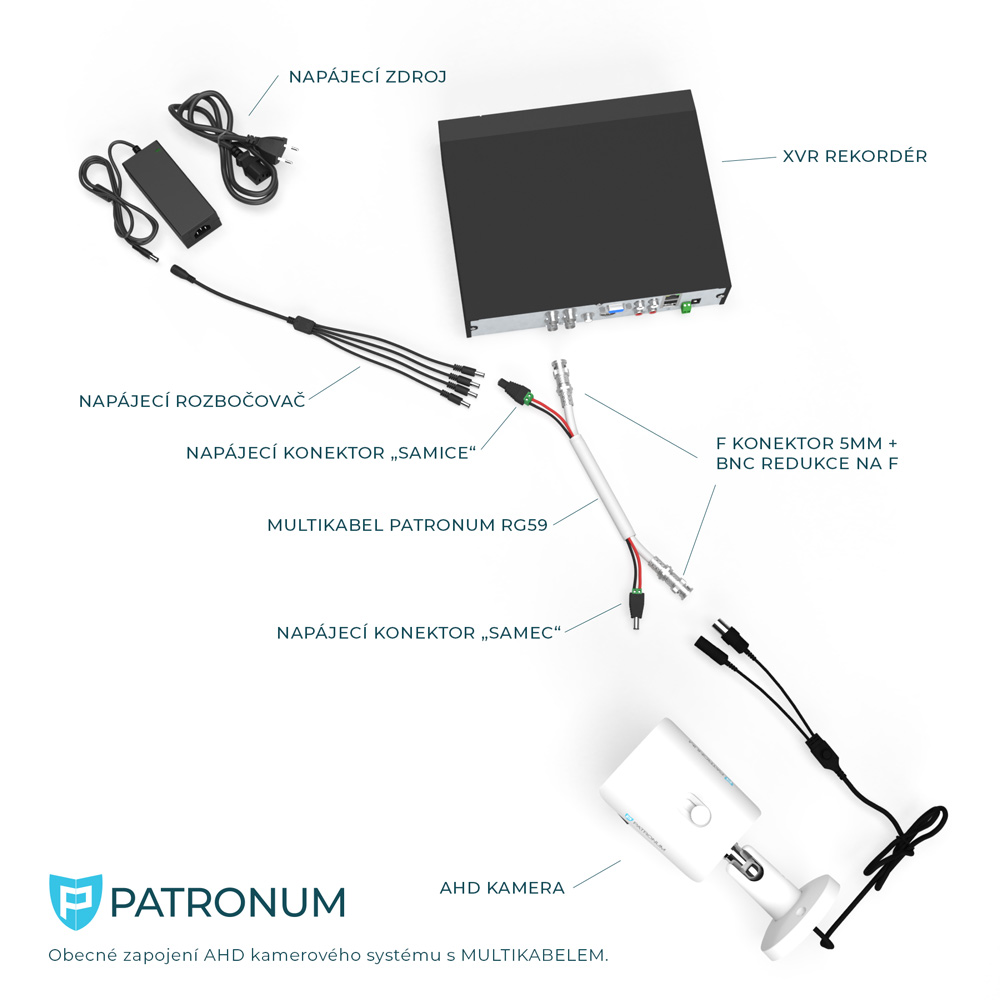
Whether you bought ready-made cables already factory-fitted with connectors or chose the more professional route of multi-cable plus a connector kit, it is always important to plan the optimal route for each camera. We recommend avoiding longer (over 100 m) parallel runs or crossings with high-voltage cables, which can cause image faults.

It's equally important to leave enough cable slack, attach the connectors carefully and seal joints properly against moisture. Especially on older buildings, also keep in mind possible cable damage from rodents. The ideal solution for joining the supply cable to the camera lead is a cable box, which we offer for most camera models.

Fitting connectors to the multi-cable is very easy. A small flat screwdriver and a knife are enough. The exact procedure is shown in the video below.
Extending the run for AHD/Analog camera systems
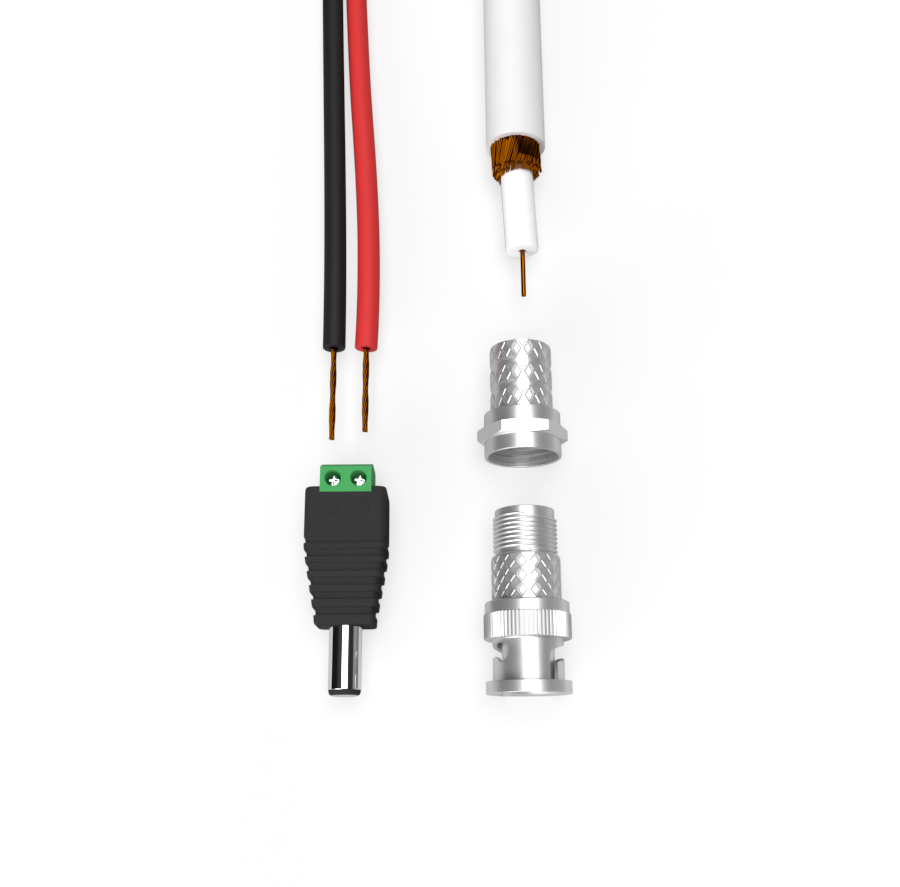
It is always best to run AHD cabling in one continuous piece. If, however, you need to extend the run, you'll need a few components:
- 2× F connector
- F/F coupler — joins the F connectors for video
- Power connectors (male and female)
We do not recommend extending pre-made cables. The conductor cross-section is not adequate for extension and the camera may not work correctly.
Alternative signal routing using twisted-pair baluns
If you don't want to (or can't, e.g. due to space constraints) use coaxial cable, you can combine UTP/FTP cabling with UTP baluns.
Types of balun:
- Powered — typically designed for an RJ45 connector, allowing video and camera power on a single UTP cable.

- Unpowered — transmits only video over a single twisted pair from the UTP cable. A single UTP cable can carry up to 4 cameras' video signal up to ~200 m.

XVR recorder placement and connection
It's important to keep the recorder in a clean, dry environment with temperatures within the manual's range (typically +5 to +45 °C). It can be placed horizontally or vertically, but the ventilation for the hard drive and other electronics must not be blocked. An ideal location is a cabinet with good air circulation, or simply an open spot. When choosing the location, consider that the device is operated with a mouse while watching a connected monitor or TV. Putting the main monitor in a different room from the recorder is not recommended due to the difficulty of operating without visual feedback. If you must place the recorder elsewhere, it can also be configured via the web interface and apps.

The recorder package includes a power supply. Plug the PSU into the wall socket and the connector into the recorder. The device should start booting (some models need the rear main switch flipped or the front Power button pressed). Connect the BNC connectors carrying the camera video signal. The device has multiple inputs. Each input has its number which determines the camera's position on screen in quad mode (the screen is split into squares each showing one camera). The individual feeds should appear one by one.

Where to next?
- Connecting the camera system to the internet for remote monitoring
- Installing the hard drive into the recorder
- Connecting the recorder to a TV or monitor
- What is a cable box and how to use it
Need help with installation? Don't hesitate to contact our technicians at support@patronum.eu