Installing IP camera systems is slightly more complex than AHD systems, and certain wiring options require some IT knowledge and special tools such as RJ45 crimping pliers.
Mounting and camera placement
Up to this point everything has been mostly virtual, and even if you already have an idea of where to mount the camera, we recommend always testing the planned placement first. Connect the recorder, plug in a monitor and the camera using a longer cable. Get someone to hold the camera in the planned location, or to set it up and aim it so the field of view is right. If you're on a ladder during this step, take care. ;-)
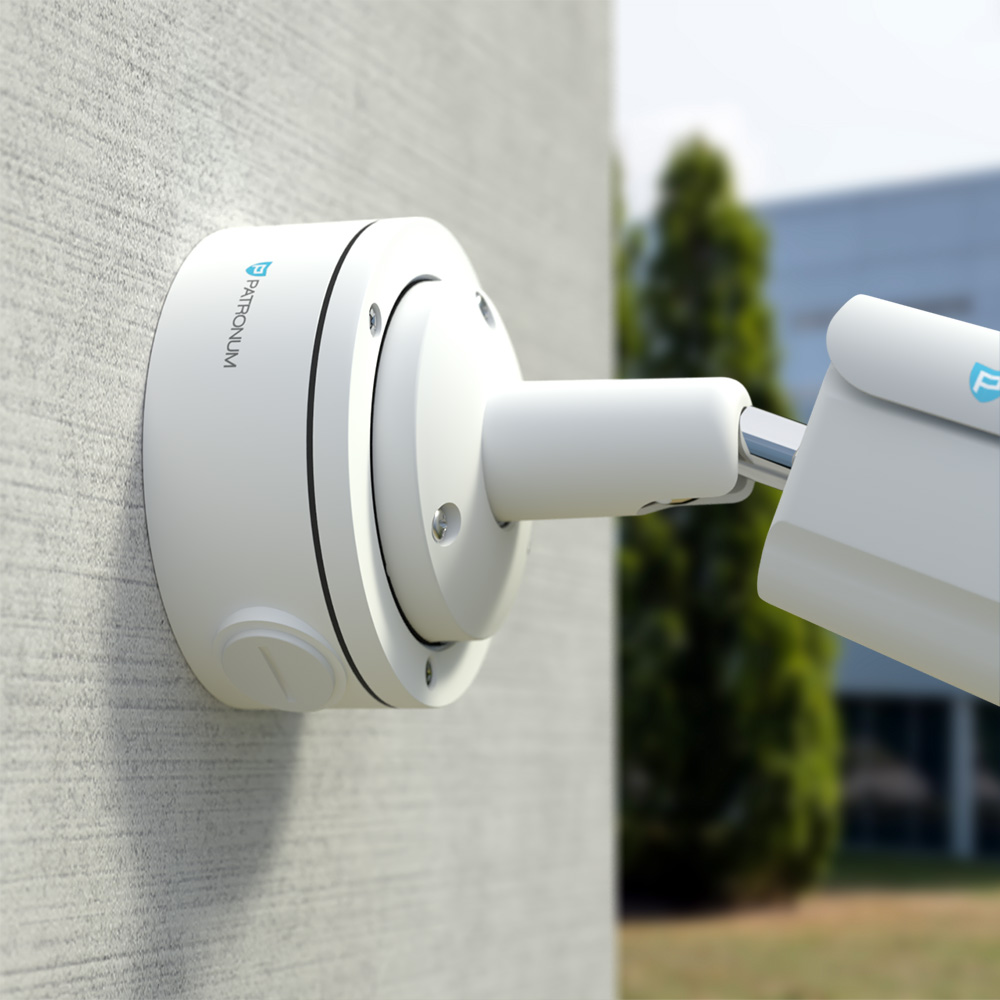
Mounting the camera itself is fairly simple. The camera usually comes with a bracket with prepared holes, and the package includes wall plugs and screws for wall or ceiling mounting. Place the camera on the wall and mark the bracket holes. Drill a hole of the right diameter for the wall plug and insert it flush with the wall. Place the camera and tighten it with the supplied screws. Some cameras have the cable routed through the centre of the bracket.
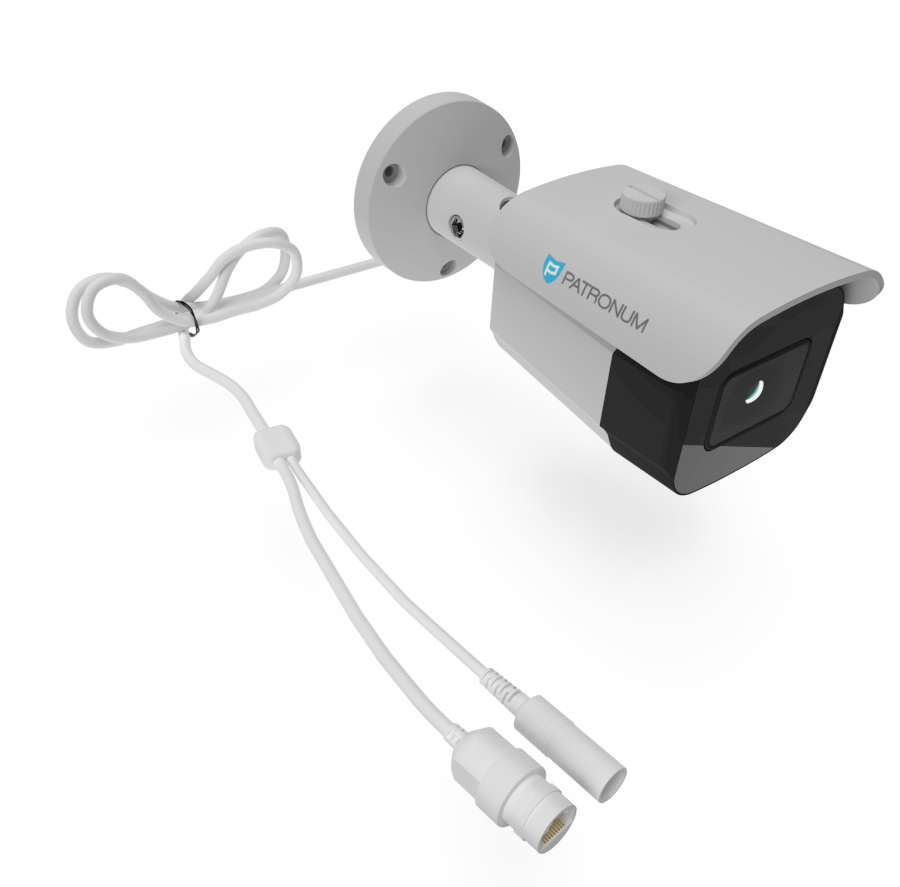
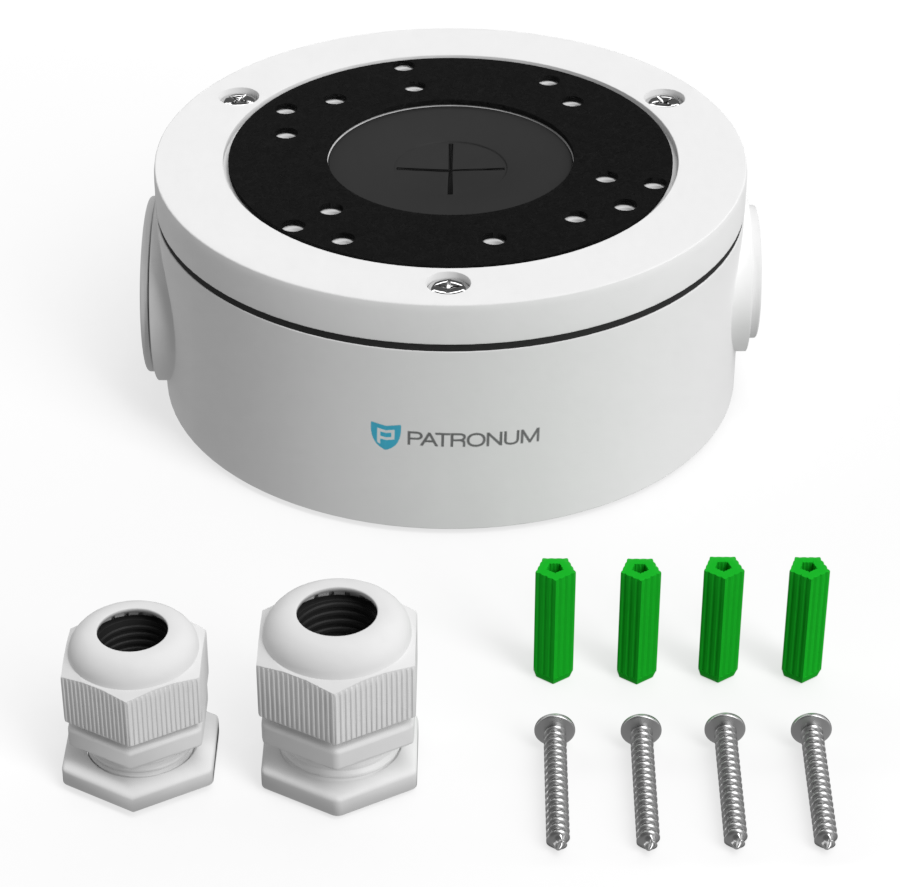
Either feed the cable into the milled groove on the edge of the bracket and tighten, or pull the cables through the wall to the spot where the connectors will be joined. If the wall is wider than the wires extending from the bracket, we recommend buying a cable box. This is especially useful for outdoor installations where there is a risk of water and dirt getting into the connections — these can cause oxidation, image loss or short circuits that damage the power supply or the camera.
If you're preparing for cameras before insulating the building, we recommend using a mounting plate designed for thermal insulation.
Cabling and routing
IP systems offer many wiring options including the use of an existing LAN infrastructure. You should therefore think carefully which option suits your building. The most common possibilities are:
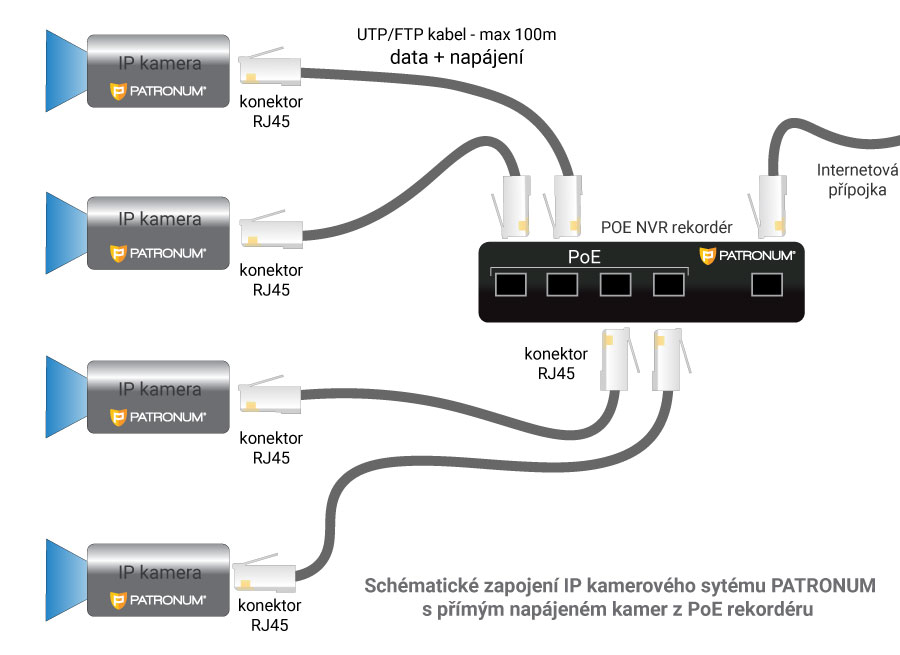
- PoE NVR recorder — a patch cable runs from the recorder to each IP camera, carrying both data and power.
- PoE switch — IP cameras connect to a PoE switch that aggregates data and powers the cameras. The NVR is connected to the same LAN as the switch.
- PoE NVR + PoE switch — IP cameras can be connected to both the recorder and the switch. The switch is also connected to the recorder's PoE port or to the same LAN.
- NVR recorder — connected to the same LAN as the IP cameras, which can be powered with 12V DC or from a PoE switch.
- WiFi wireless transmission — all links between switches, NVRs and IP cameras can be replaced with wireless connections.
- WiFi camera systems — the entire system uses wireless transmission, so both the NVR and the IP cameras have antennas for wireless communication.
As you can see, the variability of IP camera systems is almost endless. It's up to you which combination best fits your project.
To connect all elements of an IP camera system you need the right cable — a so-called patch cable. Patch cables can be made in-house or purchased ready-made. Maximum length for data and PoE power is 100 m.
Pre-made patch cables
Our offer includes patch cables from 1 to 50 metres in length. Their advantage is that you don't need crimping pliers and machine production makes them 100% reliable. The disadvantage is that the connector is already part of the cable, so a larger hole has to be drilled to pull it through the wall.
DIY patch cables
If you want to make the cable yourself — which isn't difficult — you'll need:
- a suitable cable from our offer (UTP or FTP*),
- matching RJ45 connectors, optionally with a cap,
- crimping pliers (order them with the cable if you don't have them).
The cable assembly procedure is shown in the video below:
*UTP — unshielded; FTP — shielded; cat. 5 — most commonly used; cat. 6 — thicker conductor cross-section than cat. 5.
Recorder placement and connection
The recorder must be placed in a clean, dry room where the temperature does not exceed the limit specified in the manual (typically +5 to +45 °C). The recorder may be placed horizontally or vertically, but you must not block the ventilation openings that bring cool air in for the hard drive and electronics. A suitable location is a cabinet with adequate air circulation or simply an open area. When choosing the location, remember that the device is operated with a mouse while watching the connected monitor or TV. We don't recommend putting the main monitor in a different room from the recorder — operation without visual feedback would be very difficult. If you must place the recorder elsewhere, you can also configure it via the web interface from a computer.
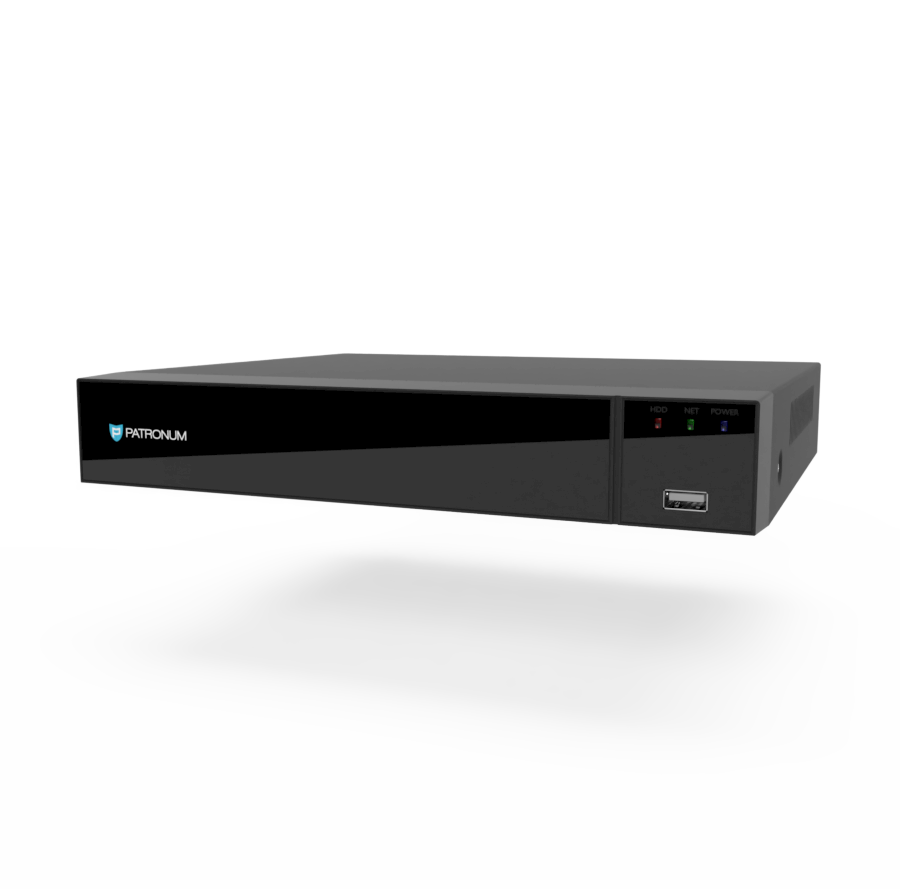
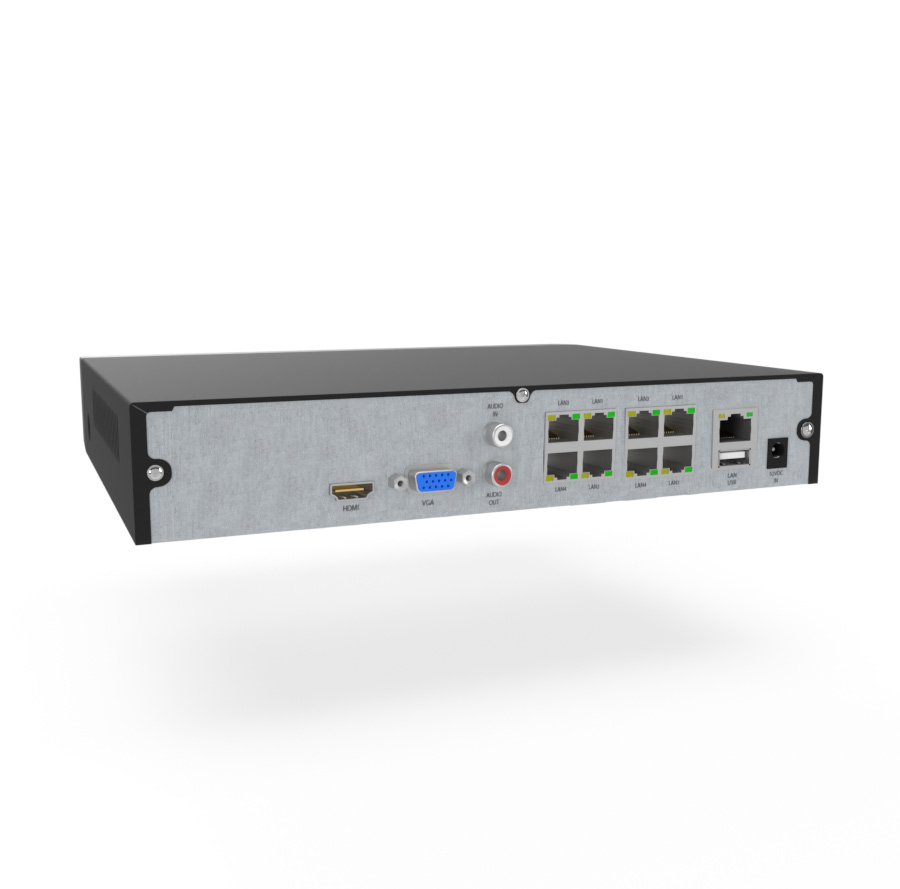
The recorder package contains a power supply. Plug the supply into the wall socket and the connector into the recorder. The device should start booting (some models need the rear main switch flipped or the front Power button pressed). Plug the RJ45 connectors carrying camera video signal and PoE power into the PoE NVR. Each input has its number, which determines the camera's position on the screen in quad mode (the screen split into squares each showing one camera). The individual feeds should appear one by one.